


Sewing Tips & Tutorials
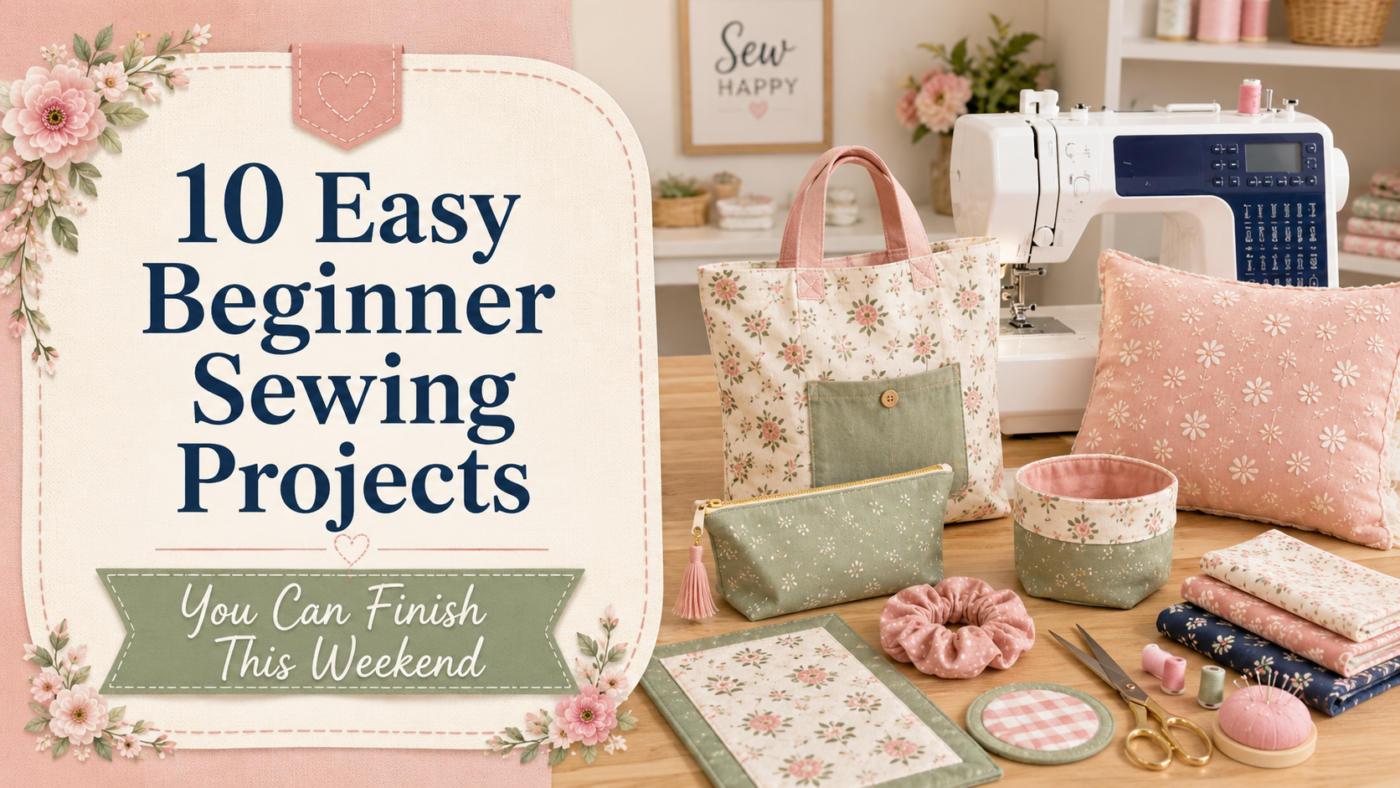
10 Easy Beginner Sewing Projects You Can Finish This Weekend
Jun
The fastest way to build confidence with sewing is to finish a project you can actually use. Beginner sewing does not have to be boring, and it does not have to mean practicing on scraps forever. With the right project, you can learn basic skills like cutting fabric, sewing straight seams, pressing, hemming, turning corners, adding simple closures, and finishing edges while still making something useful, giftable, or fun.
If you are new to sewing, start with projects that use simple shapes, beginner-friendly fabric, and clear steps. Quilting cotton is one of the easiest fabrics to begin with because it is stable, easy to press, and simple to cut. Many of the projects below can be made with fabric by the yard, fat quarters, or small cuts from your fabric stash.
Here are 10 easy beginner sewing projects you can finish in a weekend, along with supplies, basic instructions, beginner tips, and recommended products or patterns from Glory Bee’s Sewing Center.
Quick Links to Each Project
- Simple Drawstring Bag
- Envelope Pillow Cover
- Cloth Napkins
- Zippered Pouch
- Infinity Scarf
- Microwave Bowl Cozy
- Kids’ Apron or Art Smock
- Beginner Table Runner
- Reusable Produce or Snack Bags
- Simple Tote Bag
1. Simple Drawstring Bag
A simple drawstring bag is one of the best first sewing projects because it uses basic rectangles, straight seams, and one easy casing for the drawstring. Once you make one, you can adjust the size to create gift bags, toy bags, travel pouches, shoe bags, or project bags for sewing supplies.
Great for learning: straight seams, seam allowances, pressing, edge finishing, and making a casing.
Supplies
- Two rectangles of quilting cotton, such as 10 inches by 12 inches for a small bag, or 14 inches by 16 inches for a larger bag
- Ribbon, cord, or twill tape for the drawstring
- Coordinating thread
- Safety pin or bodkin for pulling the drawstring through the casing
- Iron and pressing surface
- Pins or clips
Instructions
- Cut two fabric rectangles the same size.
- Place the fabric pieces right sides together.
- On each side edge, mark about 1 1/2 inches down from the top. This small opening will become the drawstring casing entrance.
- Sew down one side, across the bottom, and up the other side, stopping below the casing marks so the top side openings remain open.
- Backstitch at the beginning and end of each seam so the stitching does not come loose.
- Press the side seams open, especially near the casing openings.
- Fold the top raw edge down 1/4 inch toward the wrong side and press.
- Fold the top edge down again about 1 inch and press to form the casing.
- Sew around the lower folded edge of the casing, making sure the side openings stay open.
- Turn the bag right side out and press.
- Attach a safety pin to the end of your ribbon or cord and feed it through the casing.
- Tie the cord ends together, trim if needed, and your bag is finished.
Beginner tip: Start with a medium-sized bag. Tiny bags can be harder to turn and press neatly.
Shop this project: Browse fabric, fat quarters, thread, and notions.
2. Envelope Pillow Cover
An envelope pillow cover is a quick home decor project that does not require a zipper. The back pieces overlap, creating an opening where the pillow insert slides in. It is a great way to practice hems, measuring, and sewing around corners.
Great for learning: measuring, hemming, overlapping layers, pivoting at corners, and creating a clean finish.
Supplies
- One pillow insert
- Quilting cotton, seasonal fabric, or home decor fabric
- Coordinating thread
- Ruler or measuring tape
- Iron and pressing surface
- Pins or clips
Instructions
- Measure your pillow insert. For example, if your insert is 16 inches by 16 inches, your front fabric piece can be 16 inches by 16 inches.
- Cut one front piece the same size as your pillow insert.
- Cut two back pieces the same width as the front piece, but shorter in height. For a 16 inch pillow, two back pieces around 16 inches by 11 inches usually work well.
- On each back piece, fold one long edge under 1/4 inch and press.
- Fold the same edge under again 1/2 inch and press.
- Sew along the folded edge to create a clean hem. These two hemmed edges will overlap on the back of the pillow.
- Place the front piece right side up.
- Place the first back piece right side down on top of the front piece, matching the raw edges.
- Place the second back piece right side down on the opposite side so the hemmed edges overlap in the center.
- Pin or clip around all four sides.
- Sew around the entire pillow cover using a 1/2 inch seam allowance.
- Clip the corners carefully without cutting through the stitching.
- Turn the pillow cover right side out and push out the corners.
- Press the cover and insert your pillow form through the envelope opening.
Beginner tip: Press each fold before stitching. Pressing makes a big difference in how professional the finished pillow looks.
Shop this project: Browse fabric, pillow supplies, and thread.
3. Cloth Napkins
Cloth napkins are useful, reusable, and beginner-friendly. They are also a great way to practice neat hems and corners. You can make a matching set from one fabric or create a fun mix-and-match set using fat quarters.
Great for learning: cutting squares, double-fold hems, pressing, corner turning, and topstitching.
Supplies
- Quilting cotton or fat quarters
- Coordinating thread
- Rotary cutter or fabric scissors
- Ruler
- Iron and pressing surface
- Pins or clips
Instructions
- Cut your fabric into squares. A good beginner size is 15 inches by 15 inches or 18 inches by 18 inches.
- Fold one edge toward the wrong side by 1/4 inch and press.
- Fold the same edge over another 1/4 inch and press again so the raw edge is hidden.
- Repeat this process on all four sides.
- Pin or clip the folded edges in place.
- Sew close to the inside folded edge all the way around the napkin.
- When you reach a corner, stop with the needle down, lift the presser foot, turn the fabric, lower the presser foot, and continue sewing.
- Backstitch at the end.
- Press the finished napkin flat.
- Repeat to make a set of four, six, or eight napkins.
Beginner tip: If your corners feel bulky, trim a tiny bit from the corner before folding, but be careful not to trim too much.
Shop this project: Browse fat quarter bundles, fabric, and thread.
4. Zippered Pouch
A zippered pouch is a classic beginner confidence-builder. It may look more advanced, but it is very manageable when you take it one step at a time. Use your finished pouch for sewing tools, makeup, pencils, charging cords, travel items, or small gifts.
Great for learning: zipper installation, lining, topstitching, turning a project, and working with layers.
Supplies
- Two outer fabric rectangles
- Two lining fabric rectangles
- One zipper, usually 9 inches to 16 inches depending on the pouch size
- Coordinating thread
- Zipper foot for your machine
- Pins or clips
- Iron and pressing surface
Instructions
- Cut two outer fabric pieces and two lining pieces the same size. A good starter size is 9 inches by 7 inches.
- Place one outer fabric piece right side up.
- Place the zipper right side down along the top edge of the outer fabric.
- Place one lining piece right side down on top of the zipper. The zipper should be sandwiched between the outer fabric and lining.
- Clip or pin the layers together.
- Sew along the zipper edge using a zipper foot.
- Fold the outer fabric and lining away from the zipper and press gently.
- Repeat the same process on the other side of the zipper using the second outer fabric piece and second lining piece.
- Open the zipper halfway. This is important because you will need the opening to turn the pouch right side out.
- Place the two outer fabric pieces right sides together and the two lining pieces right sides together.
- Pin or clip around the edges.
- Sew around the entire pouch, leaving a 3 inch opening in the bottom of the lining.
- Trim the corners carefully.
- Turn the pouch right side out through the opening in the lining.
- Stitch the lining opening closed.
- Push the lining into the pouch and press.
Beginner tip: Use clips instead of pins near the zipper to keep the layers from shifting.
Shop this project: Browse zippers, fat quarters, kits, and notions.
5. Infinity Scarf
An infinity scarf is a simple loop of fabric that can be worn casually and made in different weights depending on the season. It is a forgiving project because it uses long straight seams and does not require perfect fitting.
Great for learning: sewing long seams, turning fabric tubes, closing openings, and working with soft fabric.
Supplies
- Lightweight cotton, flannel, rayon, knit, or another soft fabric
- Coordinating thread
- Pins or clips
- Iron and pressing surface, if safe for your fabric
Instructions
- Cut one long rectangle of fabric. A common size is about 12 inches to 18 inches wide by 54 inches to 60 inches long.
- Fold the fabric in half lengthwise with right sides together.
- Pin or clip along the long raw edge.
- Sew along the long edge to create a fabric tube.
- Turn the tube right side out.
- Bring the two short ends together, matching right sides as much as possible.
- Sew around the short ends, leaving a small opening.
- Turn the remaining seam allowance inside.
- Close the opening by hand stitching or carefully topstitching on the machine.
- Press lightly if your fabric allows.
Beginner tip: If you are brand new, start with quilting cotton or flannel before trying slippery or stretchy fabric.
Shop this project: Browse fabric and thread.
6. Microwave Bowl Cozy
A microwave bowl cozy is a practical kitchen project that helps hold a warm bowl more comfortably. It is also a great handmade gift. This project introduces simple quilting, darts, layering, turning, and topstitching.
Great for learning: quilting layers, sewing darts, trimming corners, turning, and topstitching.
Important safety note: For microwave projects, use 100% cotton fabric, 100% cotton thread, and microwave-safe cotton batting. Do not use metallic fabric, metallic thread, glitter fabric, or synthetic materials in anything that may go into the microwave.
Supplies
- Two 10 inch by 10 inch squares of 100% cotton fabric
- Two 10 inch by 10 inch squares of microwave-safe cotton batting
- 100% cotton thread
- Ruler and marking tool
- Pins or clips
- Iron and pressing surface
Instructions
- Place one fabric square wrong side down on top of one batting square.
- Sew an X from corner to corner through the fabric and batting.
- Repeat with the second fabric square and second batting square.
- Fold one quilted square in half with the fabric sides together.
- Mark a small dart at the center of the folded edge. A beginner-friendly dart is about 1 inch wide and 2 inches long.
- Sew along the marked dart line and trim the extra fabric.
- Repeat on the opposite side of the same square.
- Repeat both darts on the second quilted square.
- Place the two bowl cozy pieces right sides together, matching corners and darts.
- Sew around the outside edge, leaving a 2 inch to 3 inch opening for turning.
- Clip the corners carefully.
- Turn the bowl cozy right side out.
- Push out the corners and press.
- Fold the opening edges inward and clip in place.
- Topstitch around the entire cozy to close the opening and finish the edge.
Beginner tip: Make your first bowl cozy with a lighter-colored fabric so you can see your markings and stitching more easily.
Shop this project: Browse cotton fabric, batting, and thread.
7. Kids’ Apron or Art Smock
A kids’ apron or art smock is a fun beginner project because it does not have to fit perfectly. It is useful for baking, crafting, painting, gardening, or pretend play. You can also personalize it with colorful fabric, pockets, labels, or trim.
Great for learning: simple shaping, hemming, straps, pockets, topstitching, and finishing edges.
Supplies
- Quilting cotton, canvas, or other washable fabric
- Bias tape, ribbon, or fabric strips for neck and waist ties
- Optional pocket fabric
- Coordinating thread
- Paper for making a simple template
- Pins or clips
Instructions
- Draw a simple apron shape on paper. Start with a rectangle, then curve the upper sides inward to create the bib area.
- Cut one apron body from fabric using your template.
- Fold the side and bottom edges under 1/4 inch and press.
- Fold the same edges under again 1/4 inch and press to hide the raw edges.
- Sew the folded side and bottom hems.
- Finish the curved arm edges with bias tape, or fold the edges carefully and stitch them down.
- Add a neck strap using ribbon, bias tape, or a sewn fabric strip.
- Add two waist ties to the side edges.
- To add a pocket, cut a rectangle, hem the top edge, fold the remaining edges under, and stitch it to the front of the apron.
- Press the finished apron.
Beginner tip: Keep your first apron simple. Once you understand the basic shape, add pockets, decorative stitching, or applique.
Shop this project: Browse fabric, bias tape, patterns, and Made with Love labels for a fun finishing touch.
8. Beginner Table Runner
A table runner is a great first step toward quilting because it gives you practice with piecing, pressing, layering, quilting, and finishing without committing to a full quilt. You can make a very simple runner from one fabric, or use a pattern to build confidence with piecing.
Great for learning: cutting, piecing, pressing seams, layering, basic quilting, and finishing edges.
Simple Version Supplies
- Quilting cotton for the top
- Backing fabric
- Batting
- Coordinating thread
- Ruler and rotary cutter or fabric scissors
- Pins or clips
Simple Version Instructions
- Cut one top rectangle, such as 14 inches by 40 inches.
- Cut one backing rectangle the same size.
- Cut one batting rectangle the same size.
- Layer the pieces in this order: batting on the bottom, backing fabric right side up, and top fabric right side down.
- Pin or clip around the edges.
- Sew around the outside edge, leaving a 4 inch opening for turning.
- Trim the corners carefully.
- Turn the table runner right side out.
- Push out the corners and press well.
- Topstitch around the outside edge to close the opening.
- Add a few straight quilting lines down the length of the runner to hold the layers together.
Pattern Options
If you would rather follow a pattern, Glory Bee’s carries beginner-friendly options such as the Twirl & Spin Table Runner Pattern and the Easy Patriotic Table Topper. These are great choices when you want a more guided project with a polished finish.
Beginner tip: Press every seam as you go. Pressing is one of the easiest ways to make your project look cleaner and more professional.
Shop this project: Browse patterns, fabric pre-cuts, fabric, and batting.
9. Reusable Produce or Snack Bags
Reusable produce and snack bags are quick, useful, and beginner-friendly. You can use lightweight cotton for snack bags or mesh for produce bags. This project is similar to a drawstring bag, but the fabric choice makes it especially practical for errands, lunches, and organizing.
Great for learning: simple bag construction, casings, lightweight fabric handling, and finishing edges.
Supplies
- Lightweight cotton or mesh fabric
- Ribbon, cord, or elastic depending on the bag style
- Coordinating thread
- Pins or clips
- Safety pin or bodkin
Instructions
- Cut two rectangles of fabric or mesh. A useful produce bag size is about 12 inches by 15 inches.
- Place the two pieces right sides together.
- Sew down both sides and across the bottom.
- Finish the raw edges with a zigzag stitch if needed.
- Fold the top edge down 1/4 inch and press if the fabric allows.
- Fold the top edge down again about 1 inch to create a casing.
- Sew around the casing, leaving a small opening for the drawstring.
- Thread ribbon or cord through the casing using a safety pin.
- Tie the cord ends together.
- Turn the bag right side out and press lightly if appropriate for the fabric.
Beginner tip: If mesh slips while sewing, use clips instead of pins and sew slowly.
Shop this project: Browse fabric, By Annie Mesh Fabric, elastic, and notions.
10. Simple Tote Bag
A simple tote bag is a great graduation project for beginners. It uses straight seams, boxed corners, handles, and optional lining. Once you learn the basic tote shape, you can start adding pockets, zippers, interfacing, decorative stitching, or machine embroidery.
Great for learning: bag construction, handles, boxed corners, topstitching, and structure.
Supplies
- Sturdy cotton, canvas, or quilting cotton with interfacing
- Coordinating thread
- Webbing or fabric strips for handles
- Optional lining fabric
- Pins or clips
- Iron and pressing surface
Basic Unlined Tote Instructions
- Cut two outer fabric rectangles, such as 15 inches by 16 inches.
- Place the rectangles right sides together.
- Sew down both sides and across the bottom.
- To box the corners, pinch one bottom corner so the side seam and bottom seam line up.
- Measure across the corner, mark a line about 2 inches wide, and sew across the line.
- Repeat for the other bottom corner.
- Trim the boxed corners, leaving about 1/4 inch seam allowance.
- Fold the top edge down 1/2 inch and press.
- Fold the top edge down again 1 inch and press.
- Insert the handle ends under the folded top edge, making sure the handles are evenly spaced.
- Sew around the top edge, catching the handles securely.
- For extra strength, sew a small box or X over each handle end.
- Turn the tote right side out and press.
Pattern Option
If you are ready for a more structured tote, try the Wire-Framed Totes Pattern. It includes three tote sizes and is a nice next step after a basic beginner tote.
Beginner tip: Mark your handle placement before sewing. Even handles make the tote look much more polished.
Shop this project: Browse fabric, webbing, patterns, and the Wire-Framed Totes Pattern.
Beginner-Friendly Patterns to Try Next
Once you have finished a few simple projects, patterns are a great way to keep learning. A beginner-friendly pattern gives you measurements, supply lists, cutting instructions, and a finished goal to work toward.
Here are a few pattern options from Glory Bee’s Sewing Center that pair well with beginner skill-building:
- Pointed Comments Pattern, a quick row quilt pattern with no points to match.
- Crazy Hearts Pattern by Cut Loose, a playful heart-themed project for quilts, wall hangings, or decorative accents.
- Twirl & Spin Table Runner Pattern, a table runner option for building quilting confidence.
- Easy Patriotic Table Topper, a quick table topper project sized for practical kitchen and table use.
- Wire-Framed Totes Pattern, a great next-step tote project for sewists who want to build bag-making skills.
Tips for Beginner Sewing Success
- Start with quilting cotton. It is stable, easy to press, and easier to control than stretchy or slippery fabric.
- Use a fresh needle. A dull needle can cause skipped stitches, puckering, or frustration.
- Choose quality thread. Good thread helps your machine stitch more smoothly.
- Press as you go. Pressing makes seams flatter and finished projects look cleaner.
- Measure twice, cut once. Many sewing mistakes happen before the fabric ever reaches the machine.
- Use clips when fabric shifts. Clips are especially helpful for bags, zippers, mesh, and layered projects.
- Do not aim for perfect. Aim for finished. Every completed project teaches you something.
Need Help Choosing Your First Project?
If you are not sure where to start, visit Glory Bee’s Sewing Center in Fallston or browse our online shop. We can help you choose beginner-friendly fabric, thread, patterns, and notions for your skill level.
You can also check out our classes if you would like hands-on help, or browse fabric, pre-cuts, patterns, thread, and notions to start planning your next weekend sewing project.
Happy stitching!